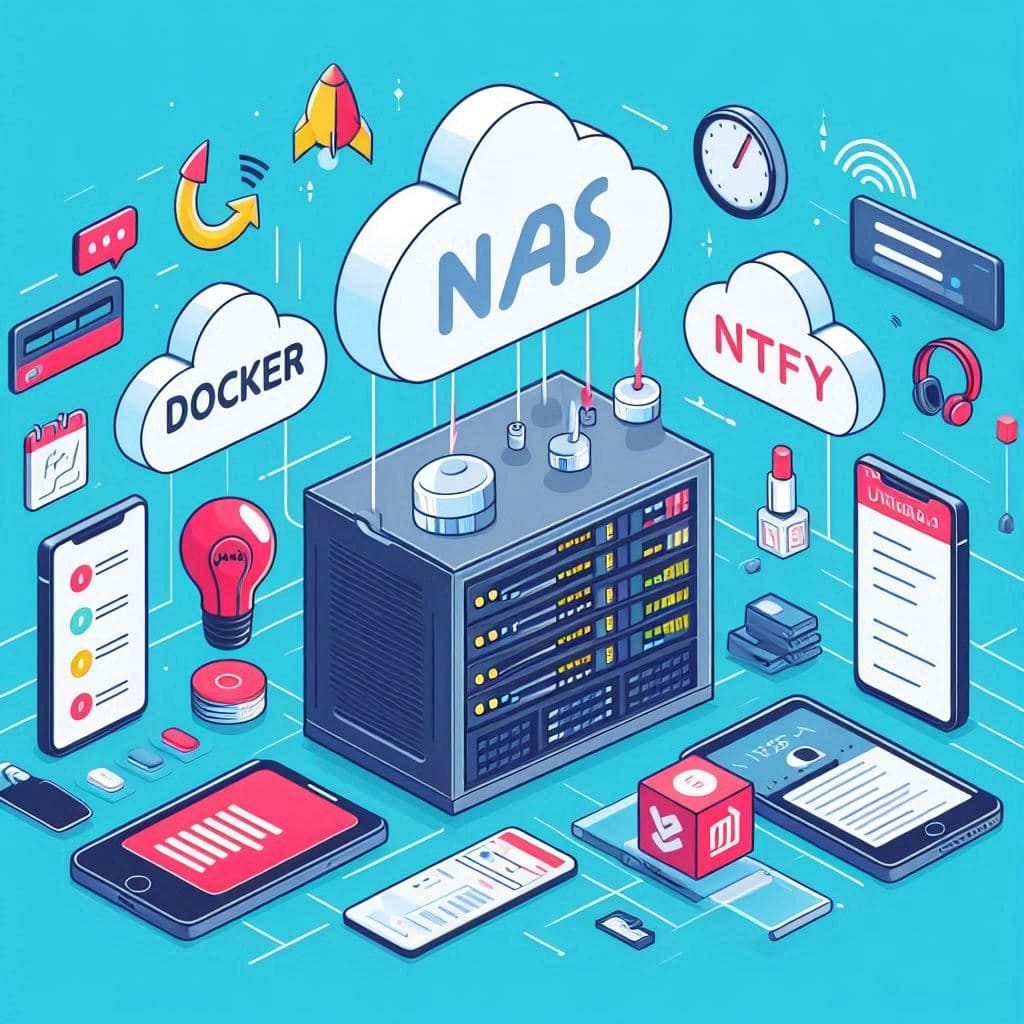
Selfhosting Ntfy for Unraid
Install Ntft from the Unraid CA

Changes I made on the template:
- Container name -> “ntfy”
- Network -> Custom : homelab (for use with SWAG)
- Change port from 80
- NTFY_BASE_URL -> https://ntfy.int.rootify.net
- NTFY_WEB_ROOT -> app (Might disable this, found no use for it yet)
- NTFY_UPSTREAM_BASE_URL -> https://ntfy.sh (Should be standard but important for iOS)
- Extra label: swag -> enable
Ntfy CLI
By default the ntfy server is public, meaning everyone with access to the app can read and write to any topic. Note that the CA template already has the Docker options NTFY_AUTH_DEFAULT_ACCESS:deny-all and NTFY_AUTH_FILE:/config/user.db. You can add basic user authentication by running a few commands within the container:
ntfy user add --role=admin thomas
password: password
confirm: password
user thomas added with role admin
After that you need to generate a token which Unraid needs:
ntfy token add thomas
You can verify or get it back later with:
ntfy token listUnraid settings
Unraid WebUI -> Settings -> Notification Settings
- System notifications: ✅ Enabled and Agents checked

Ntfy iOS app
Set the following:
- Default server
- User
Subscribe to topic: unraid
Trying it out
There is a test button within the Unraid settings which works perfect to verify your notifications work.
You can also send notifications by using curl:
curl -u thomas:password -d "Look ma, with auth" https://ntfy.int.rootify.net/unraid
After waiting a while I got the following on my phone:

What's next?
Setting up notifications for:
- HomeAssistant
- Wazuh
- Any script by using curl